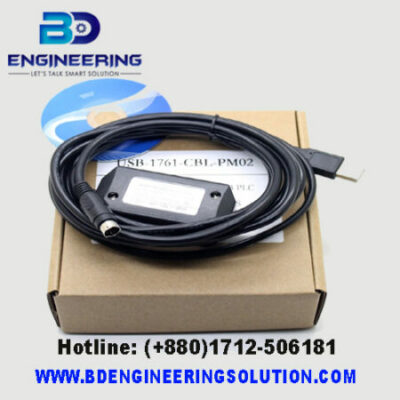
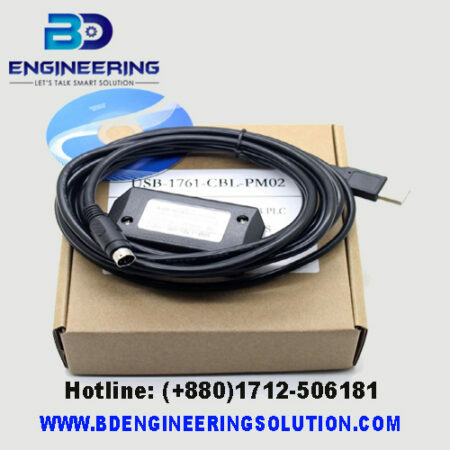
PLC Prog Cable A-B-Micrologix USB PLC Programming Cable For A-B Micrologix 1000, 1200, 1500, USB 1761-CBL-PM02-10FT now in BD Engineering. To connect to Allen-Bradley MicroLogix PLCs (such as the 1000, 1200, and 1500 series) using the 1761-CBL-PM02 programming cable. You’ll need to follow specific steps to ensure proper communication between the PLC and your programming software. Here’s a general guide on how to set up and use this cable:
Requirements:
- Allen-Bradley MicroLogix PLC (e.g., 1000, 1200, 1500 series)
- 1761-CBL-PM02 Programming Cable, RSLogix 500 or compatible programming software

Technical Steps:
- Connect the Cable:
-
-
- Identify the Mini-DIN connector end of the 1761-CBL-PM02 cable.
- Locate the appropriate communication port on your MicroLogix PLC. This is typically labeled as “RS-232” or “Channel 0” on the PLC.
- Connect the Mini-DIN connector of the programming cable to the RS-232 port on the PLC.
-
- Configure Communication Settings:
-
-
- Open your RSLogix 500 software on your computer.
- Create a new project or open an existing one that corresponds to your MicroLogix PLC model.
- Go to the communication settings or driver configuration within RSLogix 500.
- Select the communication port to which your cable is connected (e.g., COM1, COM2, etc.).
- Set the communication parameters (baud rate, parity, data bits, stop bits) to match the configuration of your MicroLogix PLC.
-
Summery:
By following these steps, you should be able to successfully connect your Allen-Bradley MicroLogix PLC to your computer using the 1761-CBL-PM02 programming cable and RSLogix 500 software.


